
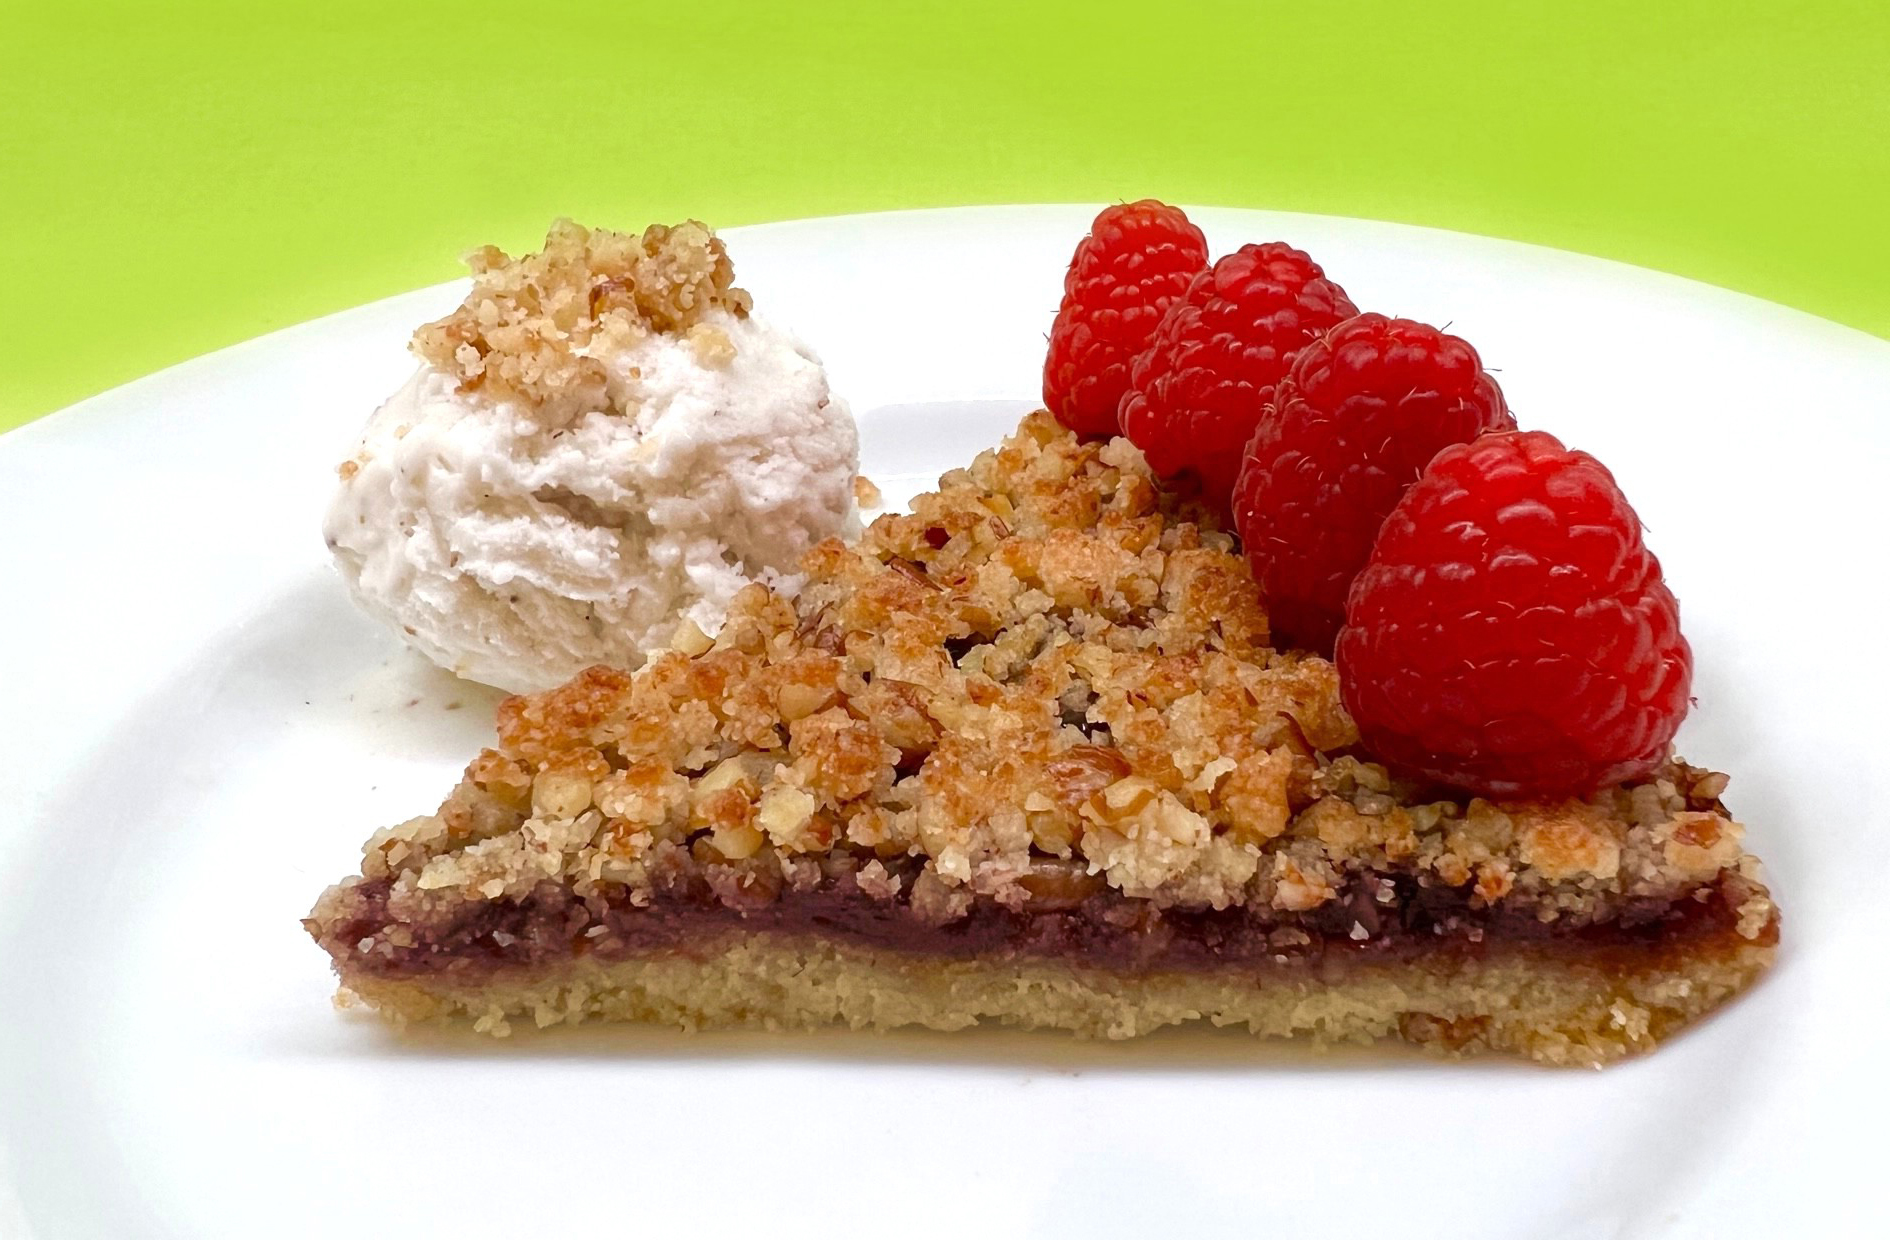
Light, fluffy, and naturally dairy-free, this Coconut Whipped Cream is a silky, plant-based topping with a delicate coconut flavor—perfect for desserts, fruit, and healthy treats.
Equipment needed: hand mixer and a medium-sized stainless steel mixing bowl
Makes about 1 cup
Ingredients:
- 1 can unsweetened organic full-fat Coconut Cream*
- 2 tablespoons real maple syrup or see *sugar-free options below.
- 2 teaspoons vanilla extract (alcohol-free)
- 1/2 teaspoon fresh lemon juice
- Tiny pinch of sea salt
Great choices for coconut cream:
- Trader Joe’s Organic Coconut Cream
- Let’s do…Organic, Organic Heavy Coconut Cream
- Nature’s Charm Coconut Whipping Cream
- Native Forest Organic Coconut Cream
Note: If you can’t find coconut cream, use coconut milk with No stabilizers, No emulsifiers, No whiteners and No Guar Gum.
- Natural Value Organic Coconut Milk
- Native Forest, Organic Simple Coconut Milk
If your only option is coconut milk with guar gum, here’s how to choose the right can:
It’s crucial to choose the right can of coconut milk to make coconut whipped cream. Give the can a gentle shake and listen for a small pocket of air that moves around and makes a soft gurgle sound. Alternatively, the contents of the can may feel more solid inside, with little to no sound. If you hear the liquid sloshing around, this can of coconut milk will NOT work for making coconut whipped cream. Some cans have stabilizers that prevent the fat from separating from the water, so it’s important to choose a can that encourages fat separation. This method has proven effective in finding the right cans of coconut milk for making coconut whipped cream.
*Sugar-free substitutions to taste: Stevia drops (a few drops) OR about 3 tablespoons Allulose, Monk fruit, or Xylitol.
Directions:
Canned Coconut Cream
- Place the can of coconut cream and a metal mixing bowl in the refrigerator for about 1 hour to chill.
- Open the can. The solid coconut cream will be on top.
- Scoop only the thick cream into the chilled mixing bowl. If you have more than 6 oz. cream, add a little more of the remaining ingredients to taste.
Save the liquid for smoothies. - Using a hand mixer, whip the coconut cream while adding the remaining ingredients.
- Whip until light, fluffy, and creamy
- Use just like traditional whipped cream.
If Using Canned Coconut Milk
- Place the can of coconut milk and a metal mixing bowl in the refrigerator for at least 6 hours or overnight. (Do not freeze!)
- The coconut cream (fat) will rise to the top.
- Turn the can upside down and open it from the bottom.
- Pour the coconut water into a container (about ½ can / 6 oz).
Save this liquid for smoothies. - Scoop the solid coconut cream remaining in the can into the chilled bowl. If you have more than 6 oz. cream, add a little more of the remaining ingredients to taste.
- Using a hand mixer, whip the cream while adding the remaining ingredients.
- Whip until smooth, thick, and fluffy.
Storage
Store in a sealed container in the refrigerator for up to 1 week.
The whipped cream will firm up when chilled. Simply re-whip briefly before serving if needed.
Tip: Cold equipment helps the coconut cream whip faster and become fluffier.
Enjoy!
- Free of: Wheat, Gluten, Grains, Dairy, Corn, Soy, Egg, Refined Sugar and *Nuts.
*Note: Coconut is not a botanical nut; it is classified as a fruit, even though the Food and Drug Administration recognizes coconut as a tree nut. While allergic reactions to coconut have been documented, most people allergic to tree nuts can safely eat coconut.
- Vegan, Paleo and Low Carb Friendly!
- Keto and Candida Diet Friendly using *sugar-free substitutions.
For More Recipes, go to www.LisaStimmer.com


